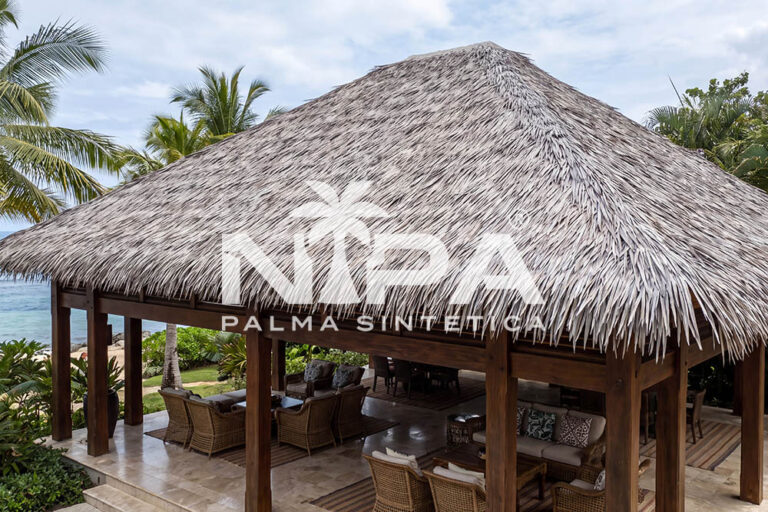
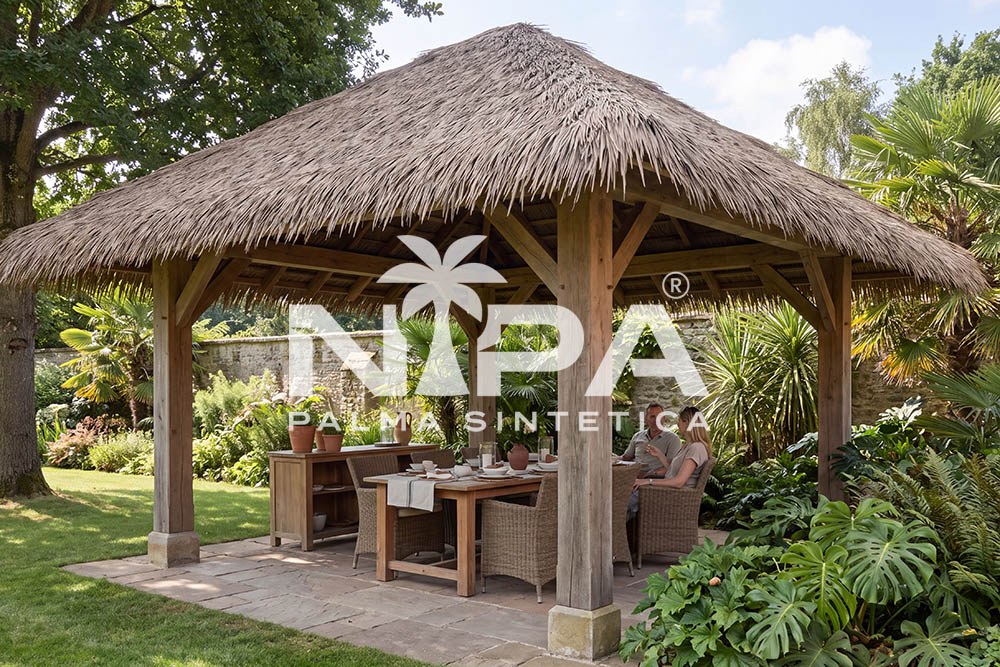
Learning how to build a palapa comes down to three stages: a solid post-and-beam structure designed for your site, a roof frame with a minimum pitch of 18° covered with open battens, and the thatch laid from the eave up to the ridge. With NIPA synthetic thatch, you can do the roof stage yourself: each leaf measures 93 × 70 cm, is installed with a 22 cm exposure, and you need 5.2 pieces per m².
In this guide we explain what a palapa is and how it is built, which materials you need, and how to make a palm thatch roof that lasts. NIPA®, direct manufacturer of synthetic thatch since 2010, backs your roof with a 20-year warranty against rot, deterioration and sudden color loss. For foundation, post and beam calculations, consult a structural engineer: that part depends on the soil, the wind and your local building regulations.
What is a palapa and how do you build one?
A palapa is an open post-and-beam structure with a pitched palm thatch roof. It originated on the coasts of Mexico and today is used in gardens, by pools, in restaurants and in resorts throughout the Caribbean and Latin America.
And how is it built? Structure first, then the roof. What has changed in modern palapas is the roof covering: today you can choose NIPA synthetic thatch, which is fully waterproof and keeps its original color for decades, instead of natural palm that is harvested and tied by hand.
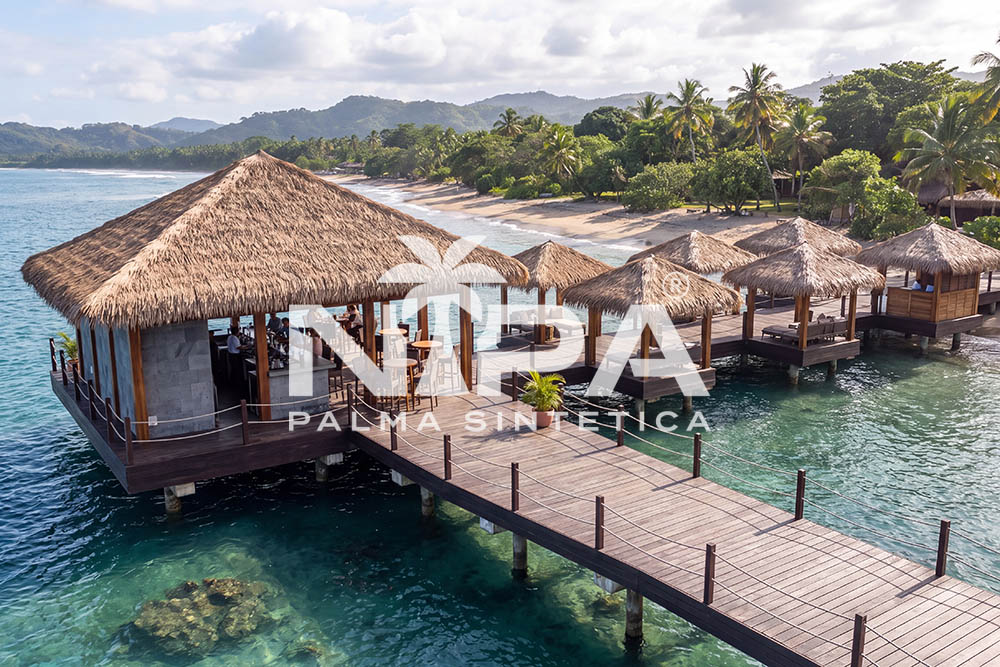
DIY palapa: what do you need before you start?
Before buying material, define the use, size and shape. A palapa over a garden table is not designed like one for a restaurant. In our guide to palapa designs you will find shapes, sizes and examples of pieces by size.
- A building permit from your municipality and, if you are near the beach, a check of the federal coastal zone.
- Structural design: sizes of posts, beams, foundations and anchors. Consult an engineer.
- Posts and beams in treated timber or a steel structure, according to the design.
- Battens for the open battening the thatch is fixed to.
- NIPA synthetic thatch: 5.2 pieces per m² of roof; each box of 70 pieces covers about 13.5 m².
- Stainless-steel roofing screws or nails, 25–40 mm: 7 per panel (6 at the top + 1 hidden wind fixing), about 37 per m². Never staples.
How to build a palapa step by step
These are the general steps. The structure stage (steps 2 to 4) must follow your engineer's drawings; the roof stage (steps 5 to 7) follows the NIPA installation specifications.
1. Define the size and shape
Mark out the palapa's footprint on the ground, including the eave. Round, square with a hip roof or gable: the shape changes the number of beams and the amount of thatch.
2. Foundations and posts
The posts are anchored to a concrete foundation. The depth, the footing size and the post section depend on the soil and the wind in your area: consult an engineer.
3. Beams and roof frame
The perimeter beams sit on the posts, with the rafters or purlins that create the pitch. For NIPA synthetic thatch, the minimum pitch is 18°. A steeper pitch helps shed water and gives a more traditional profile. For NIPA thatch, beams are spaced 46–92 cm center to center.
4. Open battens
NIPA thatch is installed on horizontal battens, not on a closed deck. Fit the battens parallel to the eave, level and 22 cm apart center to center, the same as the exposure of each row. In harsh climates use eucalyptus, cypress or pressure-treated timber.
5. First row at the eave
Start at the bottom of the roof. The eave takes three layers of leaves: the first row is fixed to the second batten, the second row to the first batten (the eave batten) and the third row again to the second batten, on top of the first. This extra row marks the eave line and the rest is aligned with it.
6. Rows up to the ridge
Each new row is laid with a 22 cm exposure and a 5 cm side overlap. That way every point of the roof is covered by several layers of leaf, because the leaf is 70 cm long and only 22 cm is exposed. Stagger the joints by at least 20 cm from one row to the next, and fix each leaf with its 7 screws.
7. Ridge and final check
Close the top with NIPA corner and ridge pieces (70 × 70 cm, 5 per linear meter), with at least 2 screws per side, laid from both ends toward the center; the central peak must be fully covered. Check that there are no gaps or loose leaves.

How to build a palapa roof that lasts
A palm thatch roof lasts when the material does not degrade and the installation respects pitch, exposure and overlap. NIPA synthetic thatch is molded from real palm leaves, in several shades and with two molds to avoid repeating patterns, and it is fully waterproof. The table brings together what you need to know to build a synthetic thatch roof, on a new palapa or on one you already have.
It has a wind resistance of 260 km/h when installed to NIPA specifications, and the FR model is rated Class A under ASTM E108, an option worth considering for restaurants and hotels. For full details, see our synthetic thatch installation guide. And if you are comparing roofing materials, read our complete thatch roof guide.
| How to build a palapa roof: key data | NIPA synthetic palm thatch |
|---|---|
| Leaf size | 93 × 70 cm, about 1.0 mm thick |
| Recommended exposure | 22 cm |
| Pieces per m² of roof | 5,2 |
| Side overlap | 5 cm |
| Minimum pitch | 18° |
| Base | Open battens, 22 cm center to center |
| Box | 70 pieces ≈ 13.5 m² |
| Wind | 260 km/h, installed to NIPA specifications |
| UV test | 5,000 hours to ASTM G155 at Micom Laboratories (independent laboratory, Canada) |
How to build a palapa hut, rancho or palm kiosk
The method is the same; only the name changes from country to country. Whether you are looking for how to build a palm rancho in Costa Rica, a rancho de pencas in Panama or a palm kiosco in Colombia, follow the same steps: a structure designed by an engineer, a minimum pitch of 18°, open battens and rows starting at the eave.
On large restaurant and hotel ranchos, NIPA synthetic thatch reduces maintenance work compared with natural palm fronds, although the roof still needs periodic inspection and cleaning.

Natural palm vs NIPA synthetic thatch: what changes when you build
Anyone looking up how to make a palapa with natural palm depends on the harvest, the drying and an experienced palapero (palapa builder) to tie each bundle. With NIPA synthetic thatch, the leaves arrive ready in boxes, at a fixed size, and are installed row by row.
The table sums up the step-by-step process with each material.
| Stage | Natural palm thatch | NIPA synthetic palm thatch |
|---|---|---|
| Material | Harvested and dried leaves; size varies | 93 × 70 cm leaf, always the same |
| Labor | Skilled palapero to tie bundles | You or your crew, row by row |
| Calculation | By bundle, according to the palapero | 5.2 pieces per m²; box ≈ 13.5 m² |
| Water | Depends on the thickness and the tying | Fully waterproof |
| Palapa construction plans | Structure and ties according to the palapero | Structure by your engineer; roof covering at 18° with open battens |
| Maintenance | Frequent fumigation and replacement | Lower maintenance: periodic inspection and cleaning |
| Warranty | No factory warranty | 20 years against rot, deterioration and sudden color loss |
Construction plans: what changes with each type of palm
Structural drawings are the responsibility of your engineer or architect with any material. What changes with NIPA synthetic thatch is the roof covering: ask for the drawing to include the minimum pitch of 18° and the open battens.
DIY palapa roof: can I install the synthetic thatch myself?
Yes. NIPA synthetic thatch is designed for DIY projects: fixed size, row-by-row installation and clear exposure and overlap data. One person with basic carpentry tools can roof a garden palapa; for large commercial roofs, NIPA Palma, NIPA's regional office for Mexico and Latin America, provides installation support.
If you want the simplest option, the NIPA® Umbrella is a DIY palapa umbrella kit. To estimate the total cost of your project, see how much a palapa costs and check the synthetic thatch price per project.
Frequently asked questions
What wood is used to build a palapa?
Local hardwoods or treated timber are used, as well as steel structures. Your engineer decides the choice and the sizes. NIPA synthetic thatch is installed the same way on wood or metal, as long as there are open battens and a minimum pitch of 18°.
How tall should a palapa be?
It depends on the use, local regulations and the pitch. Consult an engineer or architect. Remember that with NIPA the minimum pitch is 18°: on a 5 × 5 m square palapa this means the peak sits at least about 0.8 m higher than the eave.
How many pieces of thatch do I need?
Allow 5.2 pieces per m² of roof surface (not floor area). One box of 70 pieces covers about 13.5 m² and a pallet of 20 boxes about 269 m². Add the ridge and 5 to 10% waste depending on the shape and size of the roof: small and conical palapas need more (around 10%) and large, simple roofs less (around 5%).
How do I roof a palapa on a structure I already have?
The old palm is removed and NIPA synthetic thatch is installed, as long as the structure is sound, has a pitch of at least 18° and is fitted with open battens. Ask an engineer to check the condition of the timber before roofing.
Keep reading
Building a palapa? Get a roof quote from the manufacturer
Send us the size and shape of your palapa through our contact form and we will calculate the pieces, boxes and shipping. You can also write to us on WhatsApp at +1 (863) 243-0114 or at sales@nipapalma.com.