
Fast and clean: large leaves, a simple system over battens and technical support from the factory. Step-by-step guide, video and quote.
Installing NIPA® synthetic palm thatch is fast and clean: its large leaves fix onto horizontal battens and cover more roof with fewer pieces. It is an easy system for an experienced carpenter and clear enough for a DIY installation on a garden palapa. Further down you will find every measurement: exposure, overlap, pitch and fixings.
NIPA Palma, the NIPA manufacturer's regional office for Mexico and Latin America, offers synthetic thatch sales and installation with technical support: we review your structure, send you the layout plan and agree with you on on-site support.

Watch the full installation of NIPA synthetic thatch, step by step: video in Spanish, 18 minutes.
In the video you will see the structure, the laying of the first rows, the fixing and the ridge finish.
The NIPA synthetic thatch installation manual, in 20 pages: structure, battens, exposure, overlap, fastening and ridge finishes, step by step and illustrated.
Before ordering the material, confirm that your structure meets these values. The structure and its anchors are defined by the project engineer or builder, and local building code prevails. For severe-climate areas, use eucalyptus, cypress or pressure-treated timber.
| Installation requirement | NIPA specification |
|---|---|
| Minimum roof pitch | 18° (4:12) |
| Support | Horizontal battens over rafters (open battening); battens 31–57 mm in section |
| Rafter spacing | 46–92 cm on center |
| Batten spacing | 22 cm on center, equal to the exposure of each row |
| Exposure of each row | 22 cm |
| Minimum side overlap | 5 cm |
| Pieces per m² | 5,2 |
| Fixing | 7 stainless-steel fixings of 25–40 mm per panel (roofing screws or nails): 6 along the top + 1 hidden wind fixing. Never staples. |
| Joints | Staggered at least 20 cm from one row to the next |
| Eave | Three layers of panels (one extra row along the eave) |
| Underlayment or decking | Not required |
| Packaging | Box of 70 pieces ≈ 13.5 m² |
| Ridge/hip cap | 70 × 70 cm piece, 5 per linear meter; box of 100 = 20 linear meters |
No. NIPA synthetic thatch is fully waterproof on its own: each row covers the one before and water runs off as on a tiled roof. It installs directly on rafters or battens, with no costly timber sub-roofs, and the underside of the panels serves as the interior finish. If your project also calls for a ceiling, ask us about the detail before you build.
NIPA's overlap system has two measurements: each row leaves 22 cm exposed and covers the rest of the row below, and each panel overlaps its neighbor by 5 cm. Alternate panels from the two molds and from different boxes so the roof shows no repeating pattern.
This is the order of work for a gable roof or a palapa. Your NIPA layout plan details the measurements for your project.
Confirm a minimum pitch of 18° (4:12), rafters at 46–92 cm on center, and that rafters and anchors are approved for your wind zone.
Fix the horizontal battens parallel to the eave, at 22 cm on center, from the bottom up to the ridge.
Multiply the m² by 5.2 pieces, add 5–10 % waste depending on the roof's shape and size (small or conical roofs need more), and calculate the ridge and hips at 5 pieces per linear meter. Our synthetic thatch calculator gives you a first figure in seconds.
The eave takes three layers of panels. The first row is fixed to the second batten; the second, to the first batten (the eave batten); the third, again to the second batten, over the first. This gives the roof edge an extra row and the body of a natural palm eave.
Keep a 22 cm exposure and a 5 cm side overlap, and stagger the joints at least 20 cm from one row to the next. Mix panels from several boxes to spread the tones. Panels are cut on site with ordinary tools.
7 stainless-steel fixings of 25–40 mm per panel (roofing screws or nails): 6 along the top edge and 1 hidden wind fixing in the batten below. About 37 per m², never staples. This fastening is part of the 260 km/h wind resistance.
Close the hips, valleys and gables, and finally the ridge, as explained in the next section.
Check the alignment of the rows and the fixings, and remove construction debris.
Trims give the roof its final finish. The ridge closes the highest part; hips close the edges of a hip roof or a round palapa; the eave defines the silhouette your guests see.
NIPA makes one trim piece: the 70 × 70 cm ridge/hip cap, laid at 5 pieces per linear meter; a box of 100 pieces covers 20 linear meters. No separate corner pieces, perimeter panels or decorative fringes are needed: the three-layer eave, the gables and the edges are all finished with the same NIPA panel, cut and fixed as explained below.
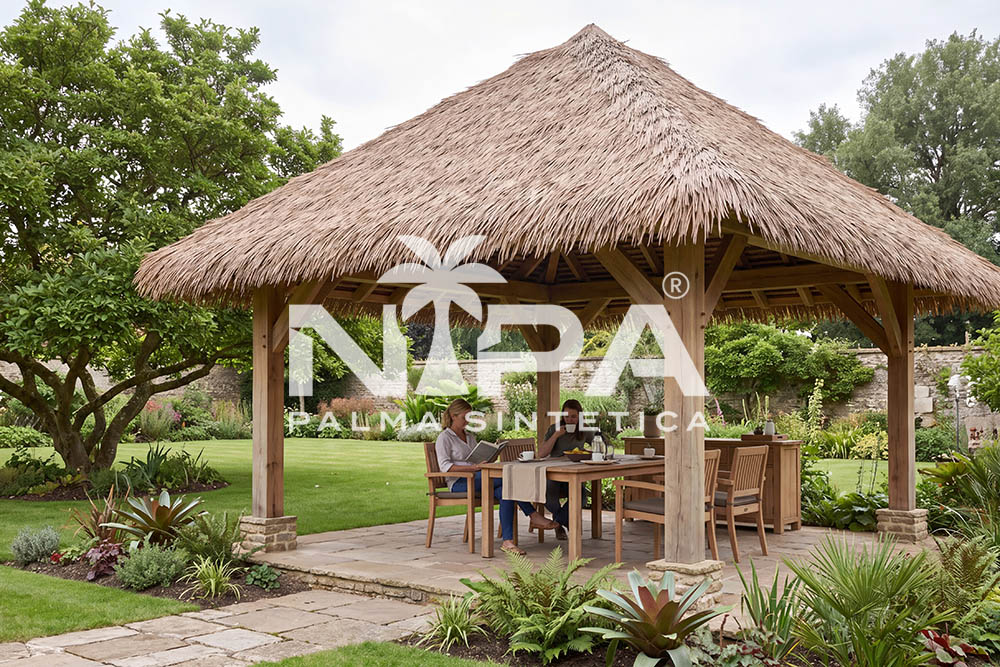
The panels on each roof slope run 7–10 cm past the hip line and are trimmed. Then the ridge/hip caps slide under the top layer and are screwed down.

In valleys, half panels are laid starting from the eave. On a fully enclosed building we recommend a metal valley gutter; on an open palapa it is not needed.

On the gables of a gable roof, the panels overhang 7–10 cm past the fascia, are folded over the edge and fixed from below.
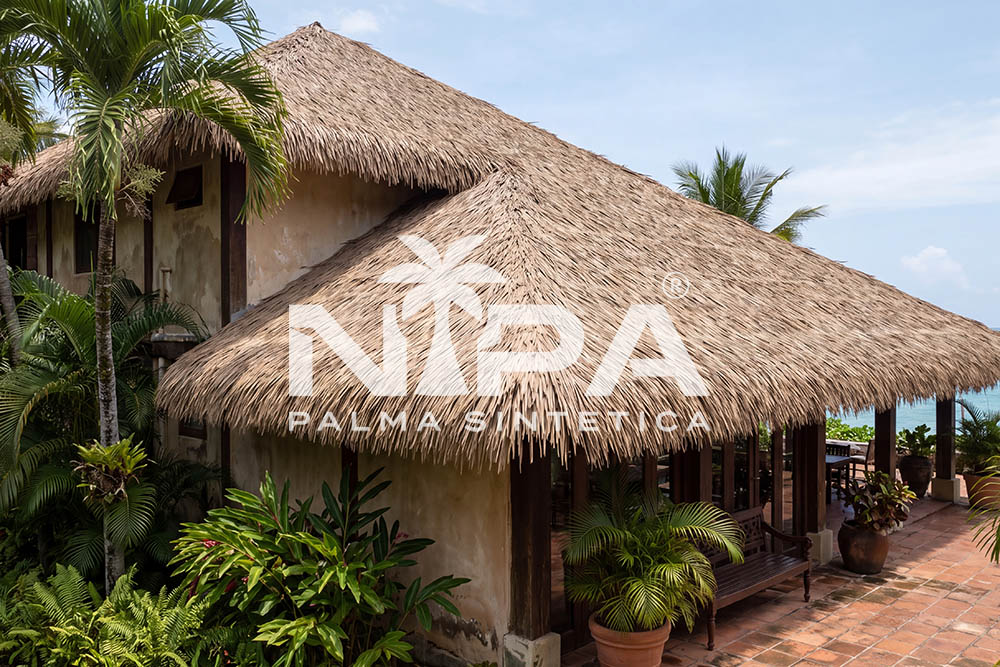
The ridge/hip cap goes on last: 5 pieces per linear meter, with at least 2 screws per side, laid from both ends towards the center.
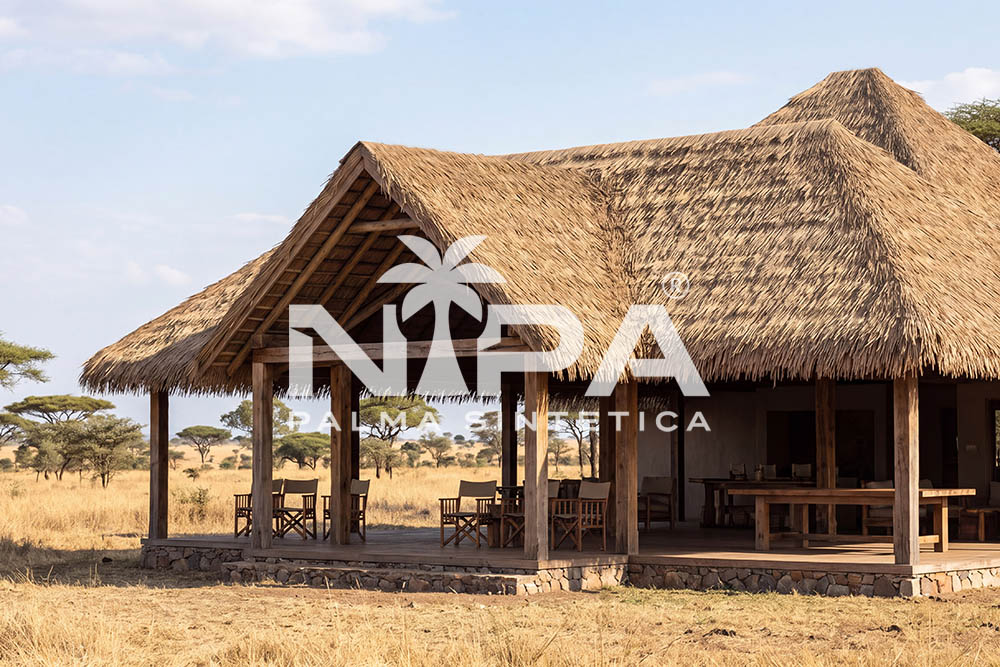
On existing timber you lay 5.2 panels per m², on battens at 22 cm on center, with a 22 cm exposure, 5 cm side overlap and stainless steel screws. The structure must have a minimum pitch of 18° and be able to take those battens. If you are reusing the structure of a natural palm palapa, first check rafters and battens for rot or fungus, and refit the battens at 22 cm. Ask your engineer or builder to check the condition of the timber before you replace the roof covering.

On a steel structure, yes, with battens at 22 cm and the metal fixings specified by the project engineer. On an existing metal-sheet or PVC roof, or on a wall, battens are first fixed at 22 cm over the existing surface and the thatch is screwed to those battens. There is also an aluminum rail system (plain or bamboo-grain) that replaces the horizontal battens. It is not installed directly on a flat slab, because the thatch needs a minimum pitch of 18°: first build a structure with that pitch and its battens.
Re-roofing a palapa of 200 m² at a hotel takes 1,040 panels (200 × 5.2), about 15 boxes plus 5–10 % waste, and the time depends on the crew and the roof shape. It is worth closing the area under the roof while work is under way, for guest safety; at hotels you can work in sections to keep the rest open.
The 93 × 70 cm panels cover more area with fewer pieces, fewer fixings and fewer battens. That easy installation means a short installation time and fewer days of work for your business.
That is why NIPA works well for artificial thatch roof installation on palapas at hotels and restaurants that stay open, and also at camping and glamping sites, where work must be brief.
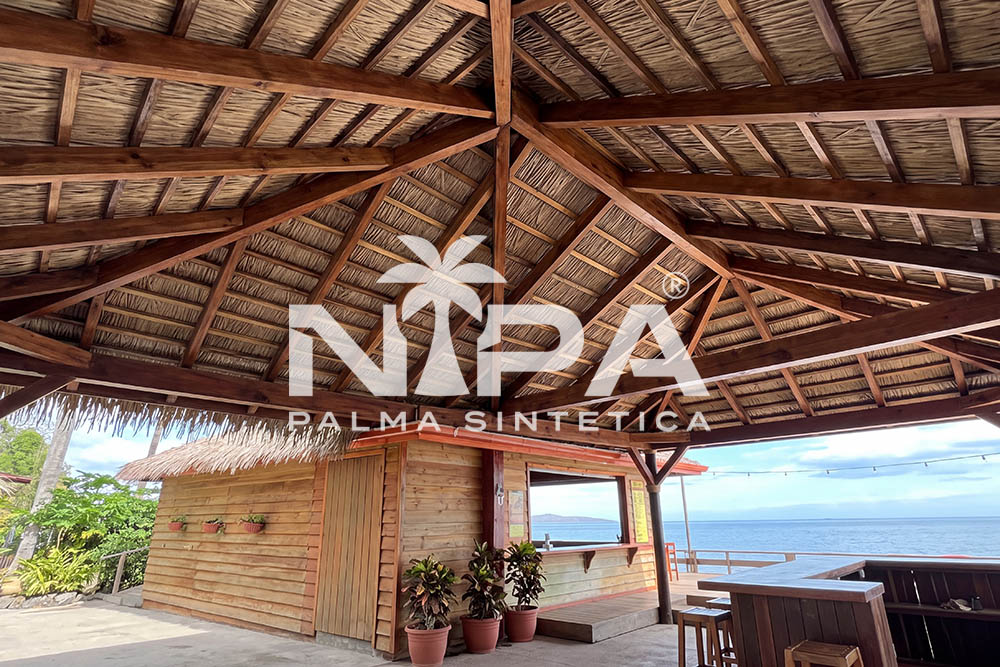
Yes, on small projects. A garden palapa or a tiki hut is ideal for a DIY installation: with battens, screws and the measurements in this guide, anyone with basic carpentry experience can achieve a good finish. For resorts and large roofs we recommend an experienced installer and our technical support.
Would you rather we install it? In Mexico, Panama, Costa Rica and the Dominican Republic we offer an installation service; in other countries we train your installer and give technical support.
If you are assembling the NIPA® Umbrella kit, follow the guide to install the palm thatch umbrella. And if you don't have a structure yet, read how to build a palapa.
Yes. In Mexico, Panama, Costa Rica and the Dominican Republic we offer an installation service. In other countries we train your installer and give technical support during the build.
5.2 panels per m², with a 22 cm exposure. Each box of 70 panels covers about 13.5 m². Add the ridge and eave trims according to the roof shape.
Battens go at 22 cm on center, each row leaves 22 cm exposed and each panel overlaps its neighbor by 5 cm. The full values are in the spec sheet.
18° (4:12). At that pitch each row drains onto the next and the roof is fully waterproof; with less pitch, water does not run off as it should.
Yes, if the structure is in good condition and meets the minimum pitch. Remove the natural palm, check rafters and battens for rot or fungus, and refit the battens at 22 cm. We explain it in the guide to re-roofing a palapa.
7 stainless-steel fixings of 25–40 mm per panel, roofing screws or nails: 6 along the top edge and 1 hidden wind fixing in the batten below. That is about 37 per m². Never use staples.
Send us photos of your structure or your roof plans. We will reply with the take-off, the layout plan and a factory-direct quote. WhatsApp +1 (863) 243-0114 or sales@nipapalma.com.